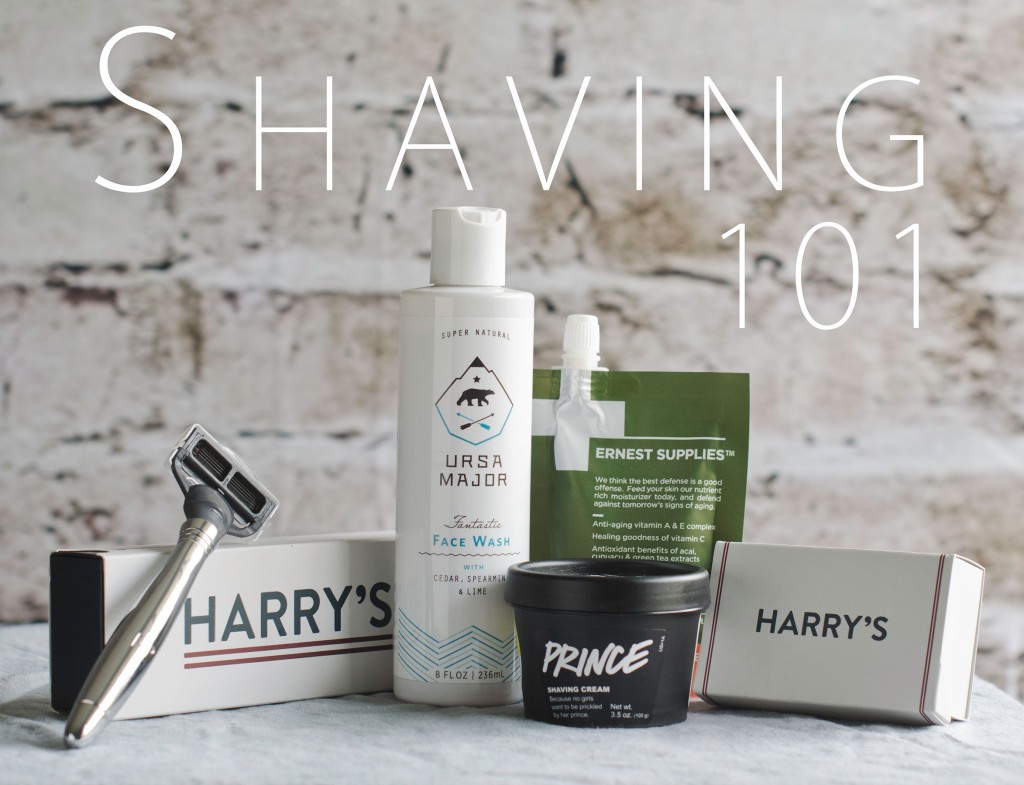
Shaving; it’s one of those things you can’t wait to do when you are young and watching your dad do it in the mirror, and something you probably wake up and groan about when you are faced with the challenge of the daily shave. As guys we like to wake up and just get on with our day, but it’s time that we take a moment to focus on how we treat our face. Will it take time? Yes. However the benefits to your skin outweigh the extra 15-20 minutes you are going to set aside for this. In fact, unless you have to be clean shaven for work, it’s a great way to treat yourself at the end of the day.
When you go to the store do you ever just sit there and stare dumbfounded at how many options there are for razors and shaving creams, and recoil at the price tags for things like replacement blades? How many blades do I really need? Do I need a razor that vibrates? And what exactly should I be using for a shaving cream?
Recently I have had the good fortune of running across a few shops and brands with some excellent, affordable men’s grooming products. The Motley– An excellent online men’s grooming supply store catering to the needs of every guy. They have everything from body wash to fragrances and are based in California. Harry’s– A great online store selling the gear every man needs for a proper shave. Both are growing businesses with simplistic looks, classic packaging, and a friendly, knowledgable environment. Lastly I’ve been very impressed with the selection of natural handmade products from LUSH.
Shaving has become more then just a lather up and shave process, and with the reemergence of the beard and every variation of facial hair on todays man, proper shaving and upkeep is essential. Shaving is an easy enough process, here’s the breakdown for you:
Step 1: Cleanse
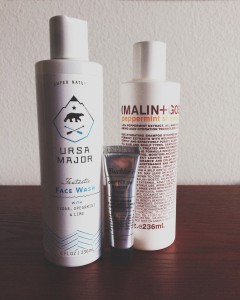
Step one; take a nice hot shower. If you are waking up and going to shave, a shower is probably your first task of the day. Make it hot, and I mean hot (I add The Devil Wears Prada quotes whenever I can). Get yourself a good facial cleanser and get your face clean. Make sure it’s a cleanser and not one of the exfoliating scrubs. I found this Ursa Major Face Wash at The Motley and love it. It has a strong out of bottle smell of Cedar, Spearmint, and Lime that’s invigorating. Don’t worry though, after you are done washing the smell dissipates to a fresh masculine sent.
Step 2: Pre-Shave Oil
This is a step that is almost always overlooked. I’ve only recently been doing this myself, and I see a huge difference is my shave. If you suffer from razor burn, bumps, nicks, or ingrown hairs post shave, this is a step that should fix all those problems. Just put a dime size amount in your hand and massage it into your beard and shaving area. It will soften the beard and prep your skin.
Step 3: Apply the Shaving Cream
While it’s convenient, move away from those can shaving creams and get yourself something good for your skin. The aerosol cans foam to much, making it more difficult for your razor to reach your face and get a close shave. This is a great time to invest in a badger brush to whip your shaving cream into a lather and raise the hairs on your beard and face. The shaving cream I’ve been using lately is “Prince” from LUSH.
Step 4: The Shave
Starting on your face shave in longer slower strokes, don’t rush this! Your first pass should always be with the grain of your facial hair; this will help lift the hair way from your pros and prevent ingrown hairs. Start by your sideburns and work your way across. Save your neck for last, giving the shave oil and shaving cream more of a chance to soften the hair and prep your skin.
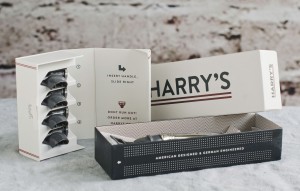 This is also the step where you get to choose your razor. Maybe you’re a straight razor old school type, or a high tech multi blade vibrating razor. Whatever you prefer you can use. I’ve found that Harry’s has some great razors, and the best part is the blade refills won’t break the bank. You can choose from two styles of handles, the amount of blade refills you wish to have, and you can even have your initials engraved on the handle. I got myself the Winston (pictured above) and love it. Sleek, shiny, and a very high class look.
Step 5: Repeat
It’s possible that your first pass is all you need, but if you have the time re-lather your skin and shave again. This time you will want to shave against the grain, and get that face baby smooth.
Step 6: Rinse
By this point your skin is already irritated, it’s gone through a traumatic experience no matter how you prep. Rinse your face with cold water. This will close your pores and sooth your irritated skin. Just splash it on, no wash clothes. When you are done pat dray your face with a towel; be sure not to rub, just pat.
Step 7: Aftershave Care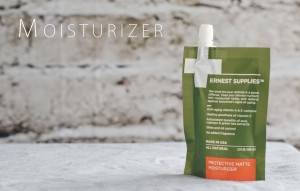
Finally you’ve reached the post shave, and your skin needs a little love. Either an alcohol free toner, or a nice moisturizer will do the trick. If you have dry skin the moisturizer will be your best bet. I found the Ernest Supplies Protective Matte Moisturizer to be an excellent choice. It has a great light scent, and does not leave my face greasy with a strange residue.


